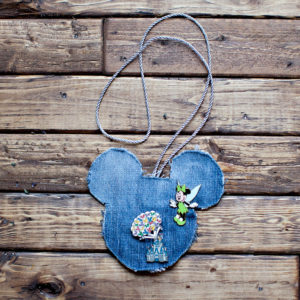
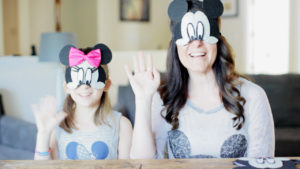
This week’s Disney DIY is inspired by Charis’s 4th grade class activity. We made crayon and sandpaper iron-on t-shirts for her class, and they turned out so cute that I wanted to make a Disney version of these fun and easy DIY t-shirts. You can make whatever pattern you like, but we made Minnie Mouse t-shirts. These are perfect for making your own park apparel for your next Walt Disney World or Disneyland vacation or just a fun activity at your next Disney birthday party.
The things you’ll need:
- White t-shirt (we tried a pink and didn’t like it nearly as much!)
- Minnie Mouse template (download here)
- Sandpaper, 100 grit
- Crayons
- Scissors
- Iron
- Paper and cardboard
Instructions:
- Print template and cut out.
- Trace template onto the back of sandpaper, cut out.
- Color sandpaper on the grit side, pressing hard and covering the entire surface.
- Place cardboard under shirt.
- Grit side down, place sandpaper on t-shirt, lay paper over it.
- With a non-steam iron, press down on template for about 20-30 seconds covering entire area.
- Check to make sure all wax has transferred.
- ¡Viola! You’ve got your Minnie Mouse T-shirt.
After creating these shirts, I was worried about the wax bleeding on other clothes in the laundry, but it didn’t bleed at all.
This is such an easy and fun DIY to do with your kids, or even your self. Be sure to pin this for later, and let us know when you make your own Minnie Mouse DIY t-shirt. Tag us over on Twitter and Instagram. We love to see the things you create!


I wonder if you did a purple bow on the pink shirt or a lighter pink color for the shirt, it would turn out better. I love this idea! Definitely going to try this with Josie!
That’s exactly what I did after I made the video. I re-did the bow in purple, and it was definitely better than the white.